How to set up a home photography studio for under $1,000
- July 10, 2020
- 0
As working from home becomes the new normal, plenty of people across the country are adjusting to a new routine. For many business owners – particularly those with smaller teams – this means adjusting to not only a new work environment but also to new job responsibilities. Over the past few months, it’s become increasingly common for owners to get more involved in the day to day aspects of their business, from shipping orders to taking product photos.
Unfortunately, learning how to take professional product photos isn’t something that comes naturally to everyone, and shooting at home instead of in a professional photography studio can complicate matters further. Thankfully, with the right setup and equipment, taking product photos at home can be easier than it first sounds.
To help put you on the path to success, we’ve teamed up with the photography experts at Ted’s Cameras. Read on to learn how to set up a home photography studio and start taking great product photos.
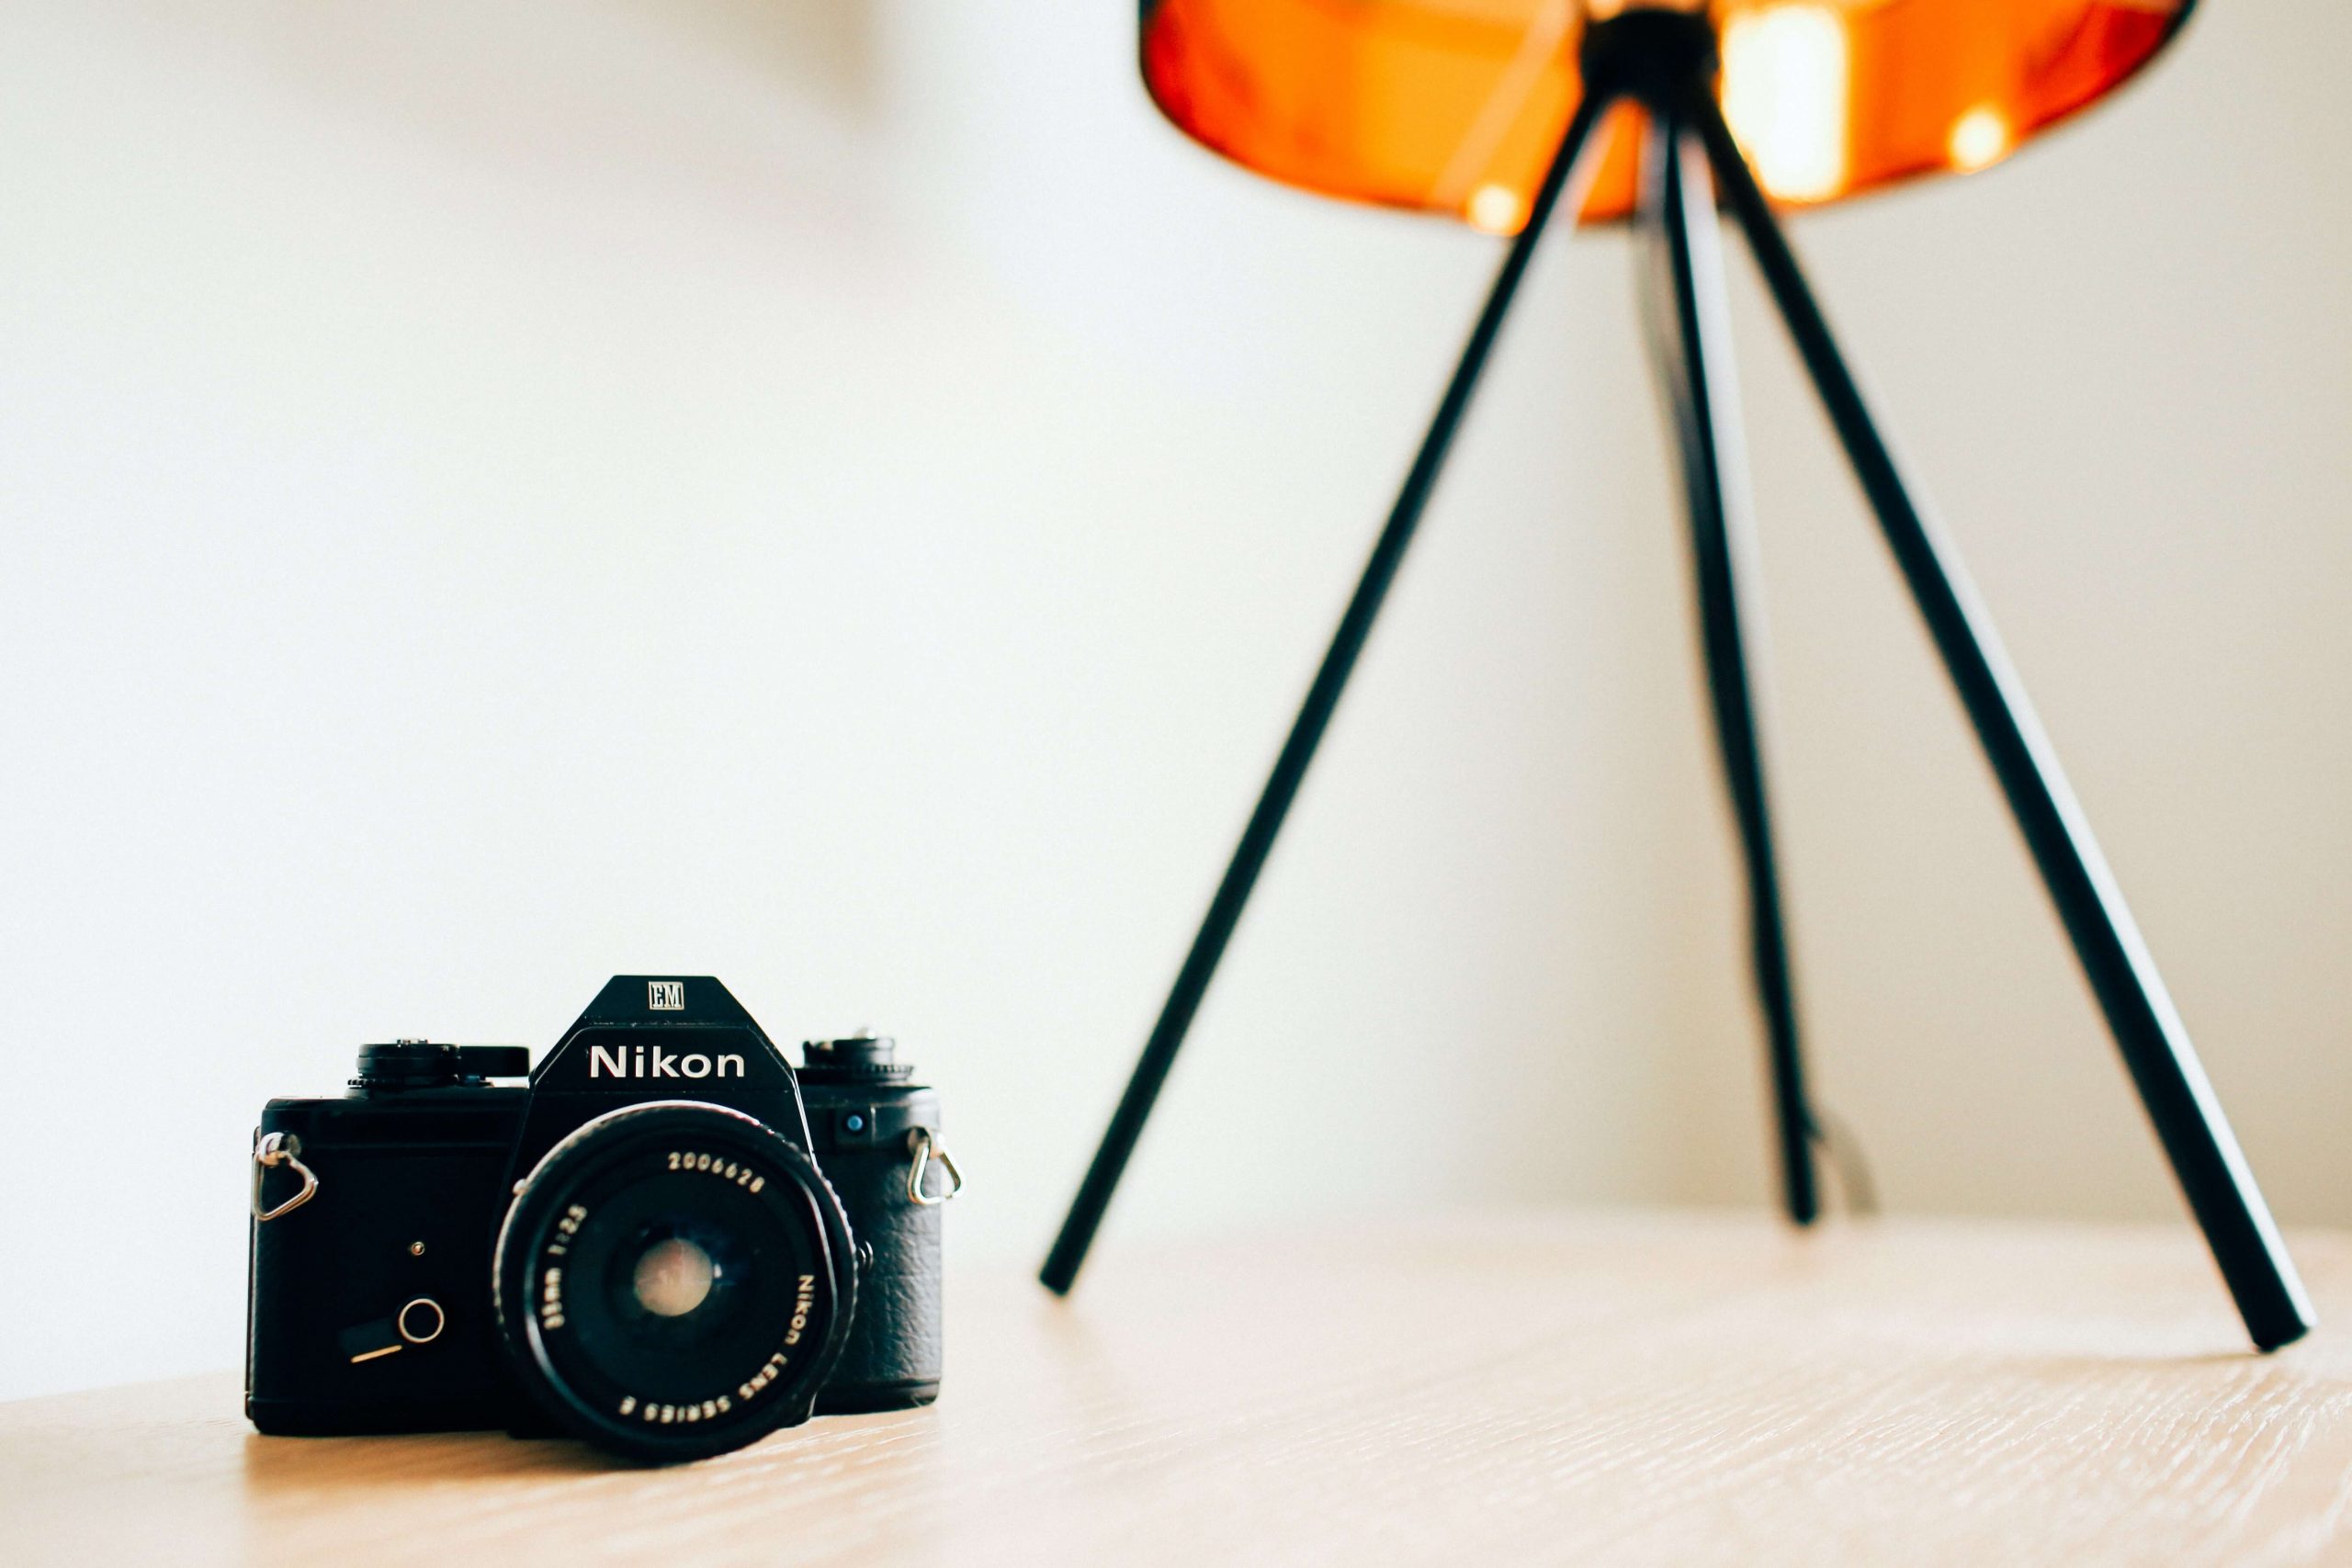
1. Use an entry-level DSLR or mirrorless camera
The key to taking great product photos? Using the right camera. A beginner DSLR or mirrorless camera will give you far better results than a smartphone or compact camera straight off the bat, and is surprisingly affordable.
In addition to boosting your image quality, a mirrorless or DSLR camera will have great compatibility with a range of photography accessories that can enhance your images. From interchangeable lenses that allow different effects to manual controls and a hot shoe for mounting a flash, these types of cameras are your best bet for professional-looking images.

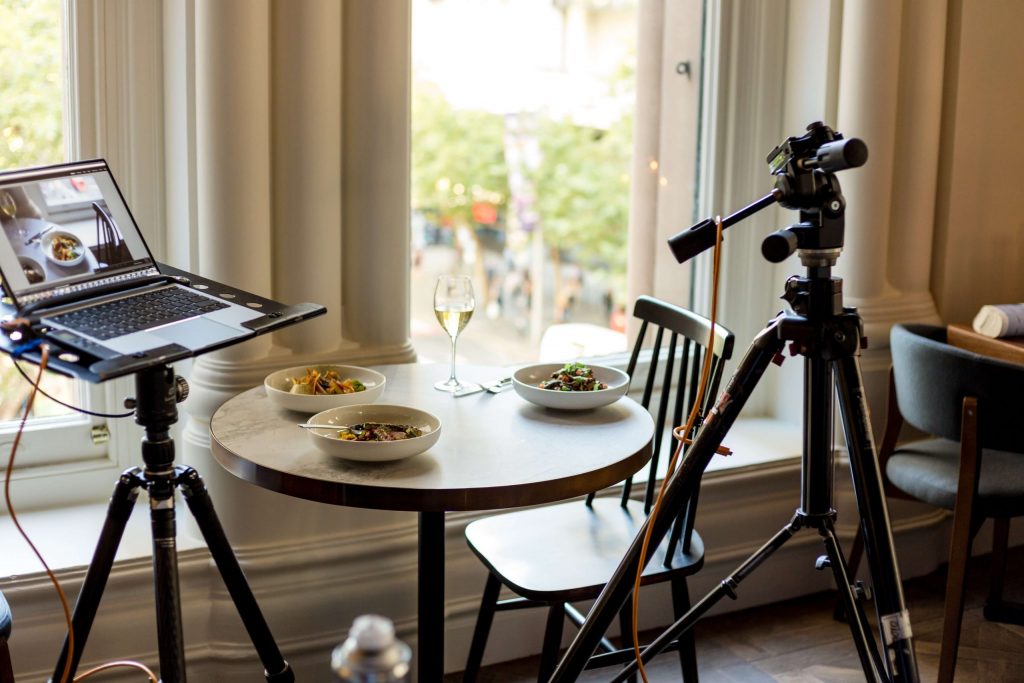
2. Invest in a tripod
While a tripod is far from the most exciting photography accessory, it’s certainly one of the most essential. A good tripod will hold your camera perfectly still and eliminate image shake or blur, making it a must-have for any home photography studio.
Tripods are also indispensable when it comes to product photography, in which photo composition is absolutely crucial. A tripod will help you fine-tune your composition and lock your camera in place once you’re happy with your shot.
Top Tip: To maximise the stability of your tripod, consider using a remote or compatible smartphone app to fire the shutter of your camera remotely.
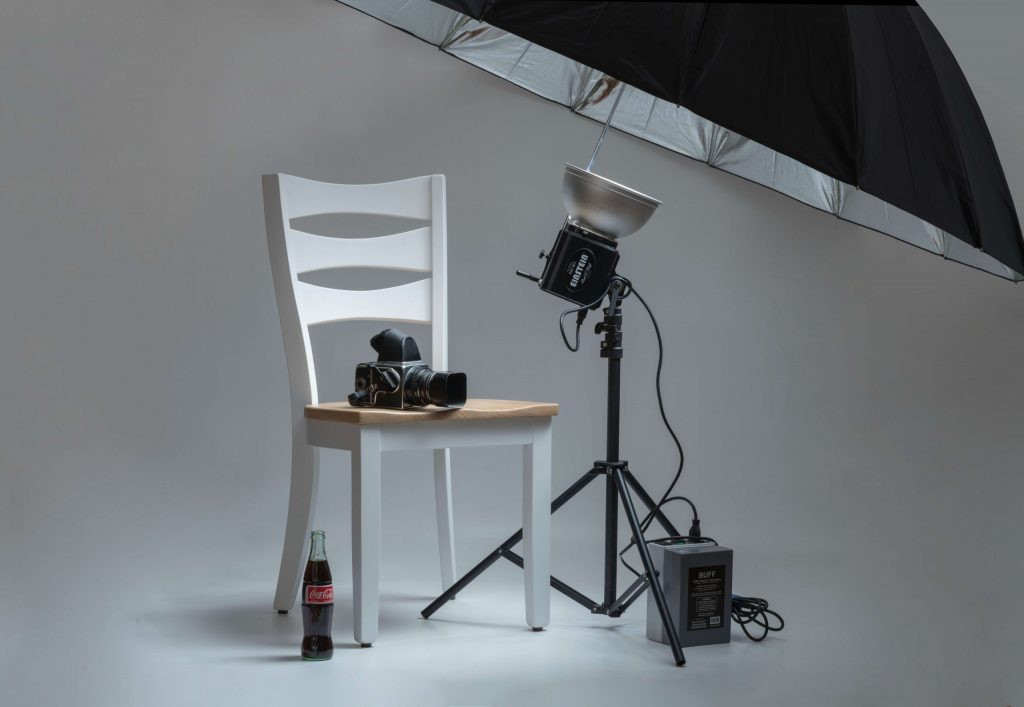
3. Add a flash gun
We love the soft, warm look of natural light photography as much as the next photography enthusiast, but artificial lighting is the best way to control how your product looks in an image. Portable LED lights and other lighting accessories allow you to tweak everything ranging from the intensity of your light source to its temperature, giving you full control over your final shot.
Better yet, you don’t even have to invest in a long list of expensive professional accessories. With a bit of know-how, it’s completely possible to take well-lit images at home. When using a flash, consider:
- Using a remote to fire your flash. This way, you can position it off-camera and experiment with a wider range of angles.
- Bouncing your flash onto walls and ceilings for a softer, more nuanced effect.
- Combining flash and natural light sources for a multi-dimensional result.
- Using light-shaping tools like a diffuser or reflector.
Top Tip: Don’t have a reflector? Strategically placed white card stock can do the trick just as well.
4. Set up a backdrop
The best product photos are ones in which the product stands out from the background and truly shines. To achieve this, it’s important that you carefully consider your backdrop. If you’re shooting in front of a plain, light-coloured wall, you may be able to get away with using this as-is. If not, you may wish to set up a backdrop.
Choose your backdrop based on your photography style and how you plan to arrange your product. For flat lay photography, for example, you may simply wish to lay your product on a large piece of plain card stock, while a fabric backdrop is best for fashion or furniture photography. For smaller products, you may even wish to try using a small “studio tent”.
Taking product photos at home is a skill worth mastering
While learning how to take good product photos at home can seem daunting, it’s far less complicated than it sounds. Investing in a basic home photography studio setup can help you take great product photos in no time – and give you a skill you can use for the rest of your life.
Follow the photography tips in this list to start shooting your products today, or visit the Ted’s Cameras blog for more inspiration and photography advice.
Written by Ted’s Cameras


